The Multiline text button allows to create a string of multiline text in the drawing.
Quick Access Panel: ![]()
Ribbon: Editor -> Text -> Multiline text
Menu: Draw -> Multiline text
To add a multiline text:
1. Click on the button ![]() .
.
2. Click over the drawing to set the first point of the rectangle that will contain the text or enter the coordinates via the dynamic input.
3. Drag the pointer to define the width of the text string or use the dynamic input:
 - the text line will be limited by the left and the right sides of the rectangle. In the end when you've entered the text and adjusted the settings the result will be approximately like this:
 - the rectangle will not be visible.
4. Click to finish the rectangle. The text formatting dialog will arise. Adjust the necessary setting:

oFont name
oFont height
oText style: Bold, Italic and Underlined
o![]() - allows entering special symbols (see below)
- allows entering special symbols (see below)
oText alignment: Right Justification, Center Justification and Left Justification
oReverses last action
oSet text color:
▪By Layer - text assumes the color assigned to the layer on which the text was created
▪By Block - text assumes the color of the block which this text belongs to
▪Select color... - calls the Select Color dialog box
•Set the necessary indent parameters:
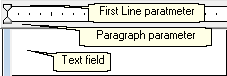
oFirst Line
oParagraph.
•Right mouse click over the Text Editor window, the following popup window will arise:

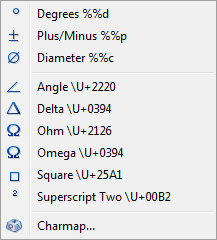
oSelect Symbol submenu item if it is necessary to enter a special symbol:
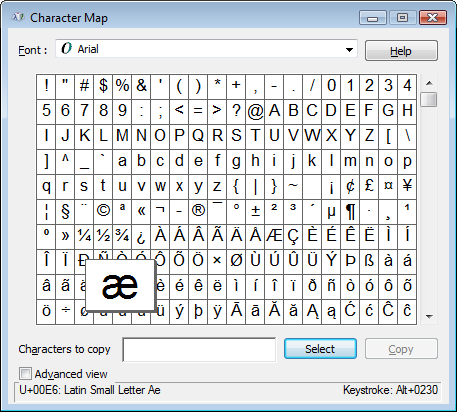
Selecting Charmap submenu item calls standard Windows application Character Map:
Press ![]() when done. Please note that after you've finished the text it is possible to correct its properties via the Properties Panel.
when done. Please note that after you've finished the text it is possible to correct its properties via the Properties Panel.
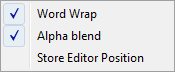
▪Word wrap - moves carriage to a new line when achieving right edge of the text field.
▪Alpha blend - sets transparency for the text Editor window.
▪Store Editor Position - defines a placement for the Editor window for the future calls. Editor window stores its last placement and size when this parameter is checked.
Go to ABViewer